Contents
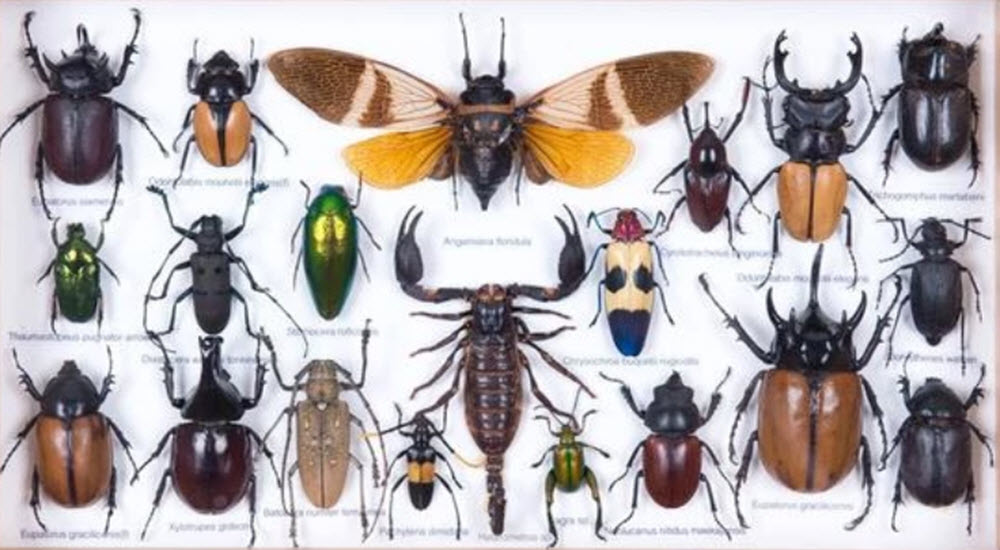
When it comes to insects, we usually don’t say “insect taxidermy”. Instead, we talk about “pinning an insect” or “pinning entomological specimens”, since that is the most common way of preserving insects. The exception are insects that are too big for this method to be suitable.
What are continental pins?
The continental pin is 40 mm long, have a round head, and is available in nine different standard thicknesses. These pins are very common in museums, and quite a few collectors also prefer them. The pin is long enough to accomodate an adeuate number of data labels and also makes it fairly easy to handle the specimens using a pair of curved forceps.
Continental pins made from stainless steel are superior to blackened steel, especially for long-term storage. Traditionally, the round head was also made from metal, but nowadays you can also get continental pins with plastic heads.
The available thicknesses are called 000, 00, 0, 1, 2, 3, 4, 5, and 6. Triple-zero is the thinnest and six is the thickest.
Exception to the rule
A special continental pin has been created to handle very large beetles. It is both longer, thicker and stronger than any of the regular continental pins. It is 52 mm long instead of 40 mm, and the thickness is 7.
What’s direct pinning?
Direct pinning is a pinning technique where the pin is insirted directly through the thorax of the specimens. For insects, this means pinning the speciment vertically through the thorax.
Important: Insects are traditionally not pinned on the midline. Instead, they are pinned to the right of the midline, to leave the left side undamaged. If you pin on the midline, you risk causing a bit of damage on both side, leaving no side perfectly intact.
What’s a minuten pin?
Unlike the continental pin, the minuten pin doesn’t have a head. Also, it is only 12 mm long.
The minuten pin is traditionally used for double mounting very small insects.
Some pinners also use minuten pins to stage small to medium-sized insects in situations where a larger pin might increase the risk of damage to the specimen. Typically, the minuten pin is then inserted from below, pushed through the staging card, and continued well into the thorax BUT NOT all the way through the thorax. Another option is to insert the minuten pin laterally into one side of the thorax. (It shouldn’t go the whole way through with this technique either.)
What’s carding?
In the context of insect preservation, carding is a technique where the insect is glued to a rectangular piece of Bristol board or acid free card.
This method is especially common when preserving beetles (Coleoptera) and true bugs (Hemiptera).
The standard sizes for the cards are:
- 4.5 x 11 mm
- 5 x 14 mm
- 6 x 17 mm
- 10 x 21 mm
- 13 x 30 mm
What’s a point?
A point is a special kind of white triangular card used by insect pinners. Specially designed point punches permit the production of large numbers of points of standard sizes.
How to use a point:
- Insert the pin through the base of the triangle.
- Place a tiny amount of glue on the tip of the triangle.
- Push the right side of the insect’s thorax into the glue to attach it.
- If necessary, bend the tip of the point at an angle to hold the body of the speciment horizontal when the pin is vertical. (The long axis of the insect will be kept at right angles to the point.)
What’s staging?
When an insect is mounted on a small support that is in turn supported by a full-sized entomological pin, it’s called staging.
Preserving insects in resin
For the hobbyist collector, preserving insects in resin can be an appealing alternative to pinning.
It is fairly easy to do at home. You only need:
- The specimen you wish to preserve
- Clear casting resin & an appropriate catalyst (these two things can normally be purchased as a package)
- A mixing cup
- Something to stir with
- A mold with a lid (any suitably sized little plastic cup + lid)
Instructions:
- Mix the resin with the catalyst in acccordance with the instructions from the manufactorer.
- Fill the mold halfway with resin.
- Gently place your specimen on top of the resin. Cover the mold with the lid.
- Wait for the resin to harden a bit. It will usually take around 5 minutes. If you don’t wait long enough, your insect might float to the top when you add more resin.
- Cover the insect with more resin, to the desired height.
- Cover the mold to prevent air contact with the resin, and leave the resin to dry (cure). How long it will take to dry depens on various factors, including how much resin you poured into your mold. You can expect it to take at least 9 hours, often more.
- Carefully pop out the resin from the mold. Be careful; it is susceptible to breaking.
- You now have an insect preserved inside resin.
Safety: Read the instructions from the manufactorer before you mix the resin. Only work with resin in well ventilated areas. Avoid getting resin on your skin. If you get resin on you, clean it away directly.